| SJ23 Tech Tip C24, (New 2023-10-13) Bob Schimmel, Tim & Kathleen Woods. | |||||||
|
Cabin Walls - Install Wood Slats. |
|||||||
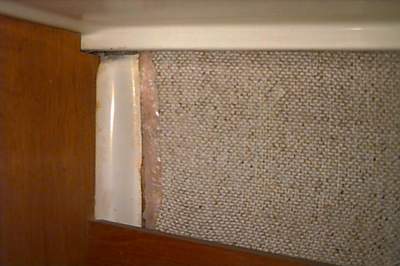 DEMOLITION (2023) - The factory fabric on the cabin wall is not very appealing. If an SJ23 has had any use the fabric will show water mark stains. Panache's original factory fabric is shown here as an example. This is the only photo I ever took of it and doesn't show the stains but the gap at the end demonstrates the problem the factory had installing it. For a description of the problem, read Tech Tip C06. DEMOLITION (2023) - The factory fabric on the cabin wall is not very appealing. If an SJ23 has had any use the fabric will show water mark stains. Panache's original factory fabric is shown here as an example. This is the only photo I ever took of it and doesn't show the stains but the gap at the end demonstrates the problem the factory had installing it. For a description of the problem, read Tech Tip C06.
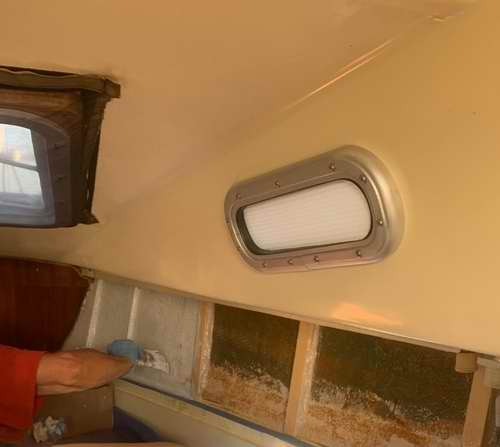
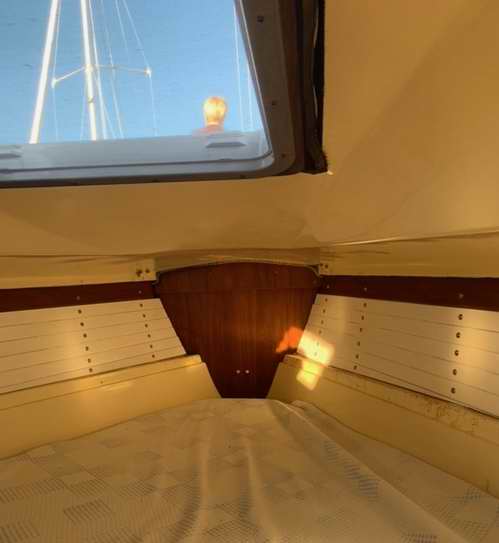
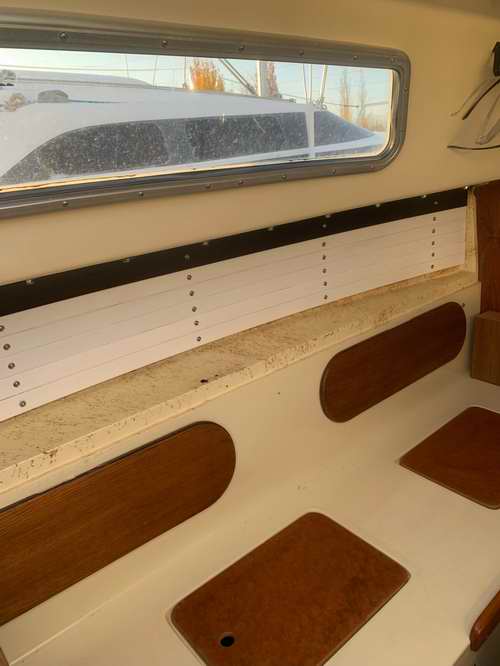
The first step towards solving this problem on Tim & Kathleen's SJ23 was to remove the fabric from the cabin walls. When I walked up to their boat the cockpit was full of fiddles, cushions and other stuff removed from the cabin. Those two were busy little beavers in there. Judging from the other debris it was a messy job. Tim said they thoroughly cleaning the walls prior to installing the furring strips, followed up by painting everything to encapsulate potential dust. You want a clean fresh smell in the cabin, not musty old glue lingering there. CONSTRUCTION - Tim chose to epoxy 1/2" thick vertical furring strips on the cabin walls, spaced 18" apart, with the two end ones spaced 12" from the others. The 12" space supported the ends of the horizontal slats with a neat finish. - The furring strips in the forward cabin are laminated from 1/8" thick spruce to match the more extreme curvature of the wall at each station. Laminating a furring strip from wood and epoxy is a tedious but necessary job for easy bonding to the cabin wall.
Winter set in which put the project on hold. More photos to come next Spring. Tim Woods. MATERIAL:
|
|||||||
|
Return to Tech Tip Index. . . . . . . . . . . . . . Have a Question? |
|||||||