| SJ23 Tech Tip C25, (Created 2024-01-25) Bob Schimmel | |
|
SJ23 Forward Hatch Bug Screen. |
|
|
I have long wanted to replace Panache's forward hatch bug screen as it has seen better days years ago. I curse it every time I sleep onboard and try to stick the screen to the Velcro under the hatch. The problem is that it was stored folded for a very long time and developed permanent creases in the screen. Those creases eventually cracked, creating a highway for bugs to zoom through. And boy do they find me. This is the primary reason why the replacement screen will be rolled up for storage. It will be stuck to the underside of the hatch to keep me away from the bugs while they stay on their side. One thing is for certain, anything that keeps those #$%^& skeeters out is a OK to me. DESIGN The new design has to be quick to set in place or release for escape during an emergency. Always keep the emergency escape thingy in mind! The screen will have a border of Sunbrella to protect the mesh and to which the Velcro will be sewn. The ceiling Velcro will be stuck to the bottom of the convex water channel that surrounds the opening. To deploy it, the screen will be rolled out along the underside of the SJ23 hatch, mating Velcro to Velcro. OTHER DESIGNS
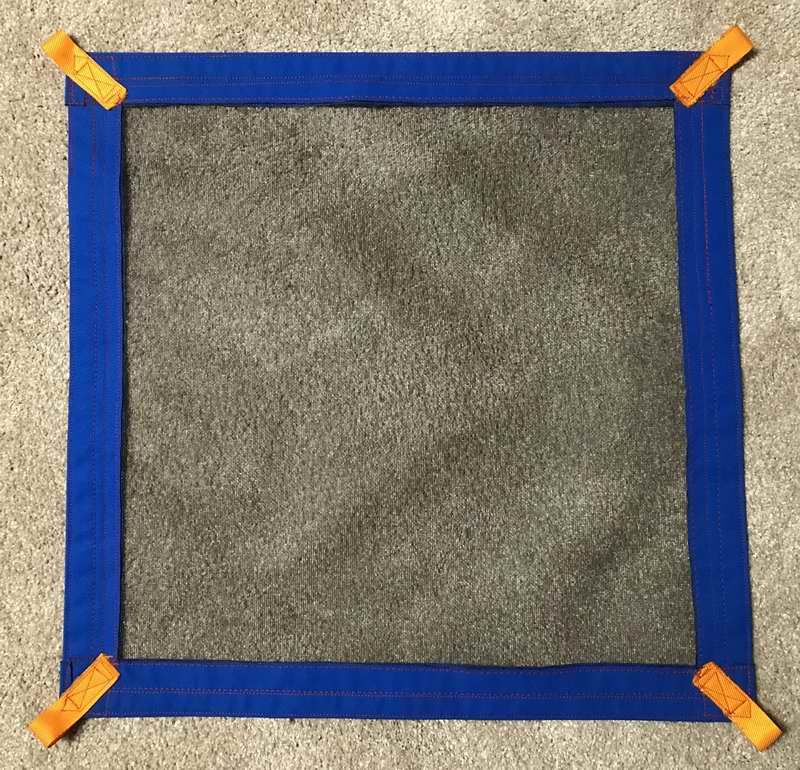
There are probably other variations of a hatch screen, but sticking one to the cabin ceiling with Velcro is the simplest design I've seen. If it starts to rain, all I have to do is pull the corner of the screen down and lower the hatch. Not having to go outside is a huge advantage to keeping the mosquitoes outside. However, this screen CANNOT stop a swarm of meat eating no-see-ums. That being the case I will bite the bullet and light up a bug repellent coil. CONSTRUCTION Fig 1 - Panache's new bug screen is 24" square with a 2" wide protective hem of Sunbrella to sew the Velcro to. This dimension nicely overlaps the 23" square ridge around the bottom of the hatch to which the 1" wide adhesive backed Velcro will be stuck. Seal all edges of cut Sunbrella with a hot knife. Fold each 4" wide strip of Sunbrella into a 2" wide hem and slip it over a side, tucking the screen in to full depth. Run a straight stitch down the hem to secure it so you can attach and sew the other three sides. The corners of the hems are cross lapped and the Velcro is mitre cut for strength. The finished screen is shown below.
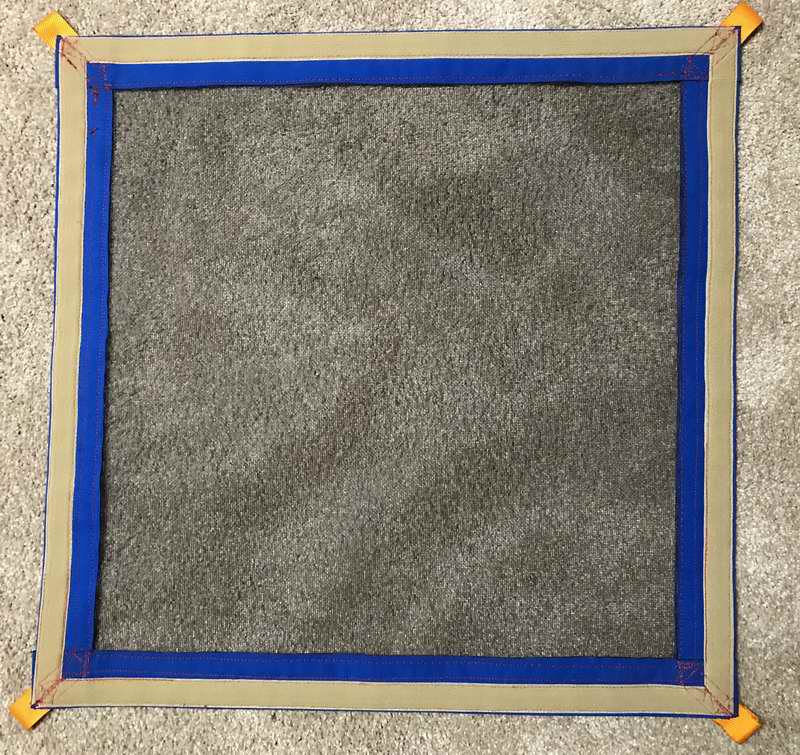
I also included a pull tab at each corner to remove the bug screen as I've always found it difficult to remove my original screen without rearing off the delicate strip of 1/4" wide Velcro. Yah gotta be quick when it comes to beating a mosquito. Why yellow pull tabs? So I can see or feel them at night to close the hatch, without switching on a light that attracts bugs. Fig 2 - I chose to sew the loop side (soft) of the Velcro to the back side of the screen since it rolls up easier than the hook (hard) side. With the hook side glued to the underside of the hatch I'll have to be careful when crawling onto the forward berth so I don't snag wool from my sweater. I hate the sight of fluff stuck to Velcro. It looks so tacky.
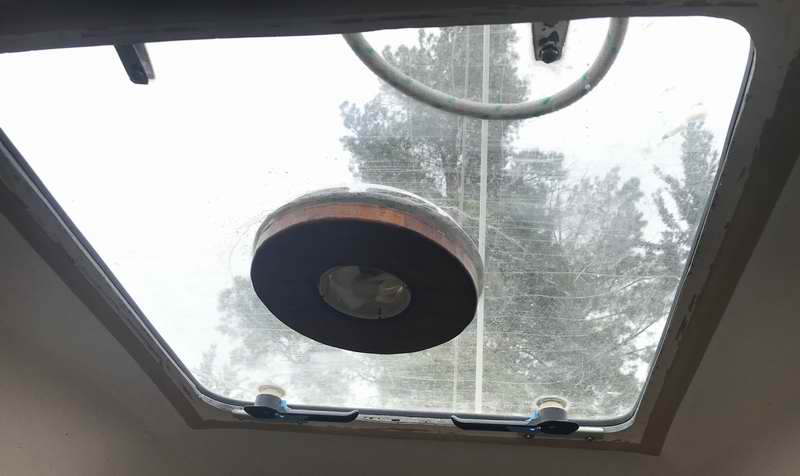
Fig 3 - Velcro attached to the ceiling. Given that the cabin occasionally has high moisture I washed the ceiling with acetone so the Velcro has a fighting chance to stay stuck. This technique almost always guarantees success.
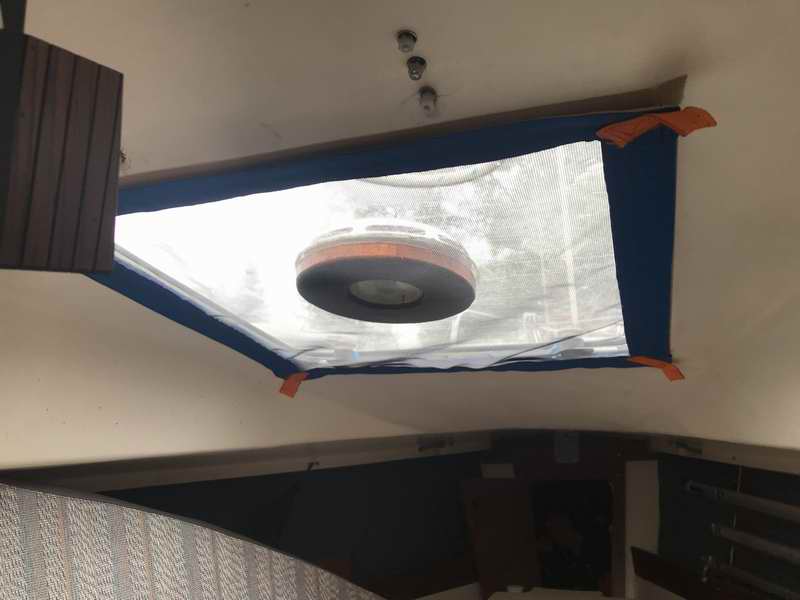
Fig 4 - And finally the bug screen on the ceiling, albeit lightly applied as the Velcro adhesive hasn't set yet at the time of this photo. It has not released since install. It is so much easier to place the screen evenly with the roller and remove it with the pull tabs. I'm going to enjoy some bug free nights this summer.
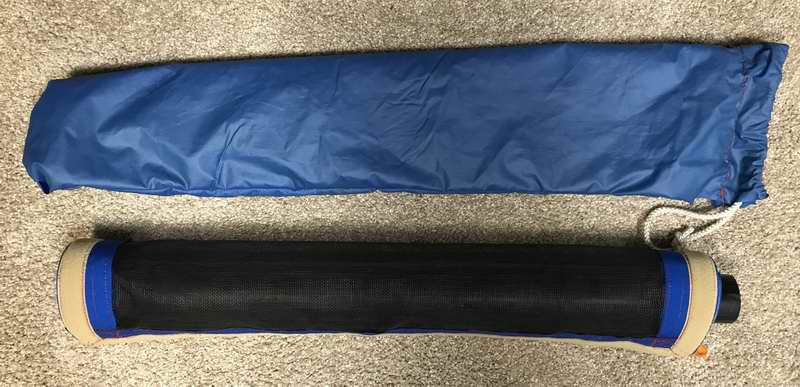
Fig 5 - To protect the screen during storage I roll it up around a 2" tube of ABS to limit the minimum bending radius. The tube also makes it easy to stuff the screen into its nylon storage bag, with the no damage. For convenience it is tucked behind a fiddle at the forward berth where it is used.
USE After my first couple of nights onboard in 2024 I'm happy to report that this screen is infinitely superior to my previous version simply because it is easy to deploy and store. The four corner tabs are easy to find in the dark if I have to lower the hatch for any reason. So far I have beaten the mosquitoes when lowering the hatch in the middle of the night. The screen packs around the PVC tube without folds that could crack the webbing. And by the way NO mosquitoes buzzed through. |
|
|
See Tech Tip C16 for the Companionway bug screen. The Sailrite Ultrafeed LSZ-1 sewing machine sure came in handy for this project. |
|
|
Return to Tech Tip Index. . . . . . . . . . . . . . . Have a Question? |
|