| SJ23 Tech Tip F27, (Issued 2001-09-20) Bob Schimmel | |
|
SS Bridge Across Cabin to Terminate Halyards. |
|
 There
is very little space on the side decks of an SJ23 and if you have a desire to add more cleats for control lines
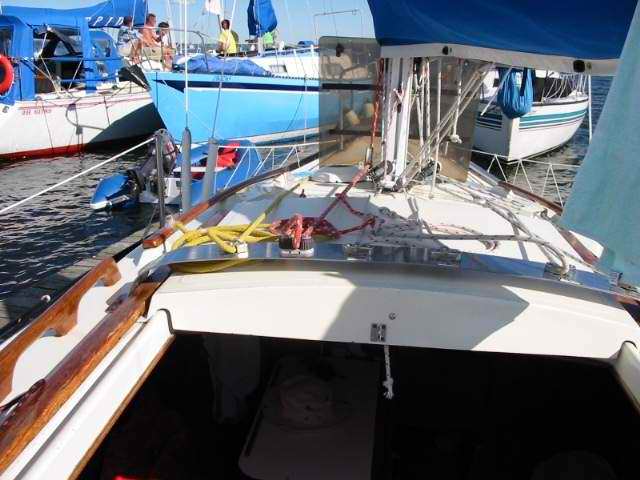
then a bridge is a great way to go. This home designed stainless steel bridge belongs to Joy
IV. At the time of this writing, the boat was raced successfully on
Cold Lake in northern Alberta, demonstrating that the
hardware works. Great for racing because the crew
can stand in the companionway, clear of the cockpit. It's great for
cruising because the clutter is away from people. Less hassle in
either situation. There
is very little space on the side decks of an SJ23 and if you have a desire to add more cleats for control lines
then a bridge is a great way to go. This home designed stainless steel bridge belongs to Joy
IV. At the time of this writing, the boat was raced successfully on
Cold Lake in northern Alberta, demonstrating that the
hardware works. Great for racing because the crew
can stand in the companionway, clear of the cockpit. It's great for
cruising because the clutter is away from people. Less hassle in
either situation.
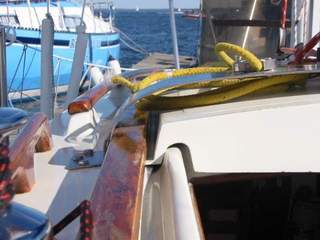
This bridge is made of 1/8" thick by 4" wide stainless steel sheet metal. The curve is probably best made with three rollers, adjusting the tension between them as the bend tightens towards the ends. The ends are through bolted to the deck. Saturate the balsa core deck around the mounting bolts with epoxy to prevent crushing the otherwise soft core as there will be considerable stress on these bolts from the halyard tension. As always, use a good marine sealant to prevent water ingress. Mounting a cleat or winch to this bridge requires a sealant under it to prevent marine growth. See Tech Tip G08. One of the nice things about a bridge is that each cleat can easily be labeled for those sailors unfamiliar with the control lines on your sailboat. Great for quick familiarization. This bridge also allowed the owner to install an extra hand rail further aft along the cabin roof.
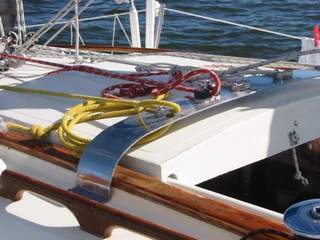
The later production boats could be equipped with a bridge to create unobstructed access for the companionway. I think the aluminum bridge shown at right is the factory version.
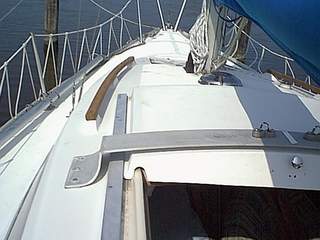
If you don't want to duplicate the bends to form the feet shown here
then you could install two blocks on the deck under the strap ends.
(Ash, oak, teak). Radius the corners of the blocks to eliminate hard
stress points on the deck. Through bolt them to the deck with the
metal strap on top. Bend the 4" wide strap
so it follows the contour of the sliding hatch, keeping about 1" above. It might be easier to
make an accurate bend if you copy the hatch curve on cardboard. |
|
|
Return to Tech Tip Index. . . . . . . . . . . . . . . Have a Question? |
|