| SJ23 Tech Tip F40, (Created 2024-03-17) Bob Schimmel, Travis Taylor. | |
| SEW YOUR OWN SAILS - This is not as daunting a task as one might believe, provided you have sewing skills. But you must beg, borrow or own a heavy duty sewing machine equipped with a walking foot to handle the multiple layers of Dacron cloth at the corners. In addition, it is handy to have a large room with free floor space to spread out the cloth. Ideally the sewing machine should be positioned inside a large table to make it easier to manage the roll of sail cloth under the arm of the machine. I wouldn't advise placing the machine on the floor for this large of a job. Your knees will get back at you for this. There are some practicalities of fabricating sails. I wouldn't attempt to cut sail panels even it is for a flat sail. The slightest deviation from the cut line will change the uniformity of the camber, altering the draft. That's not to say it can't be done, but you risk
creating a shitty looking sail that can't pull well. The problem is that you won't know the sail is off till you hoist it, in which you will have to repair the affected panel(s). This task can be a real time burner. Read SAILRITE "Tips for sewing large heavy sails." However, if you order a sail kit from SAILRITE, the panels are cut
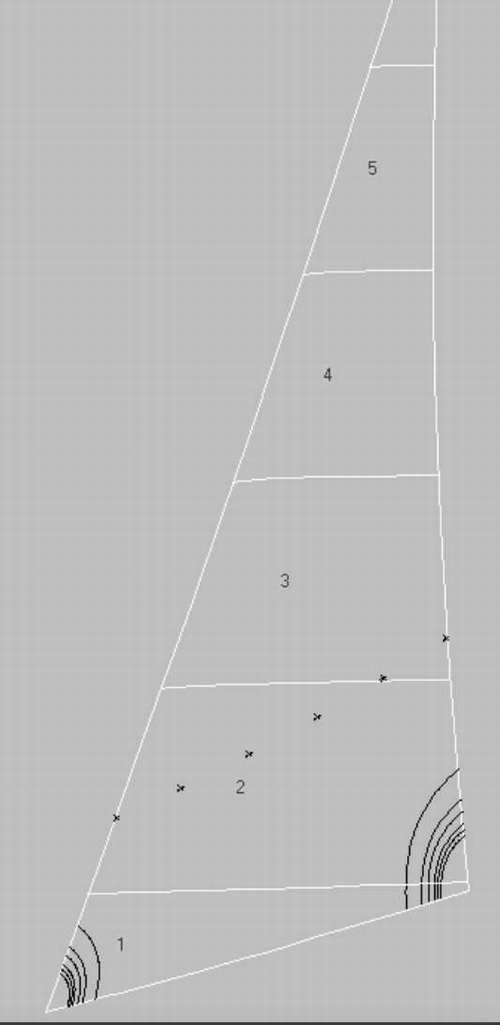
perfectly with their C&C machine, the edges are heat sealed, each panel is labelled, and alignment marks are placed along the edge for correct assembly. You can see some of these marks on the jib below. Its up to you to put the panels together with basting tape and start sewing. This SAILRITE SJ23 kit will save oodles of time and almost guarantee a good looking sail. See Tech Tip F21, "Replace Your Sails", if you find sewing is too difficult. | |
| JIB - To make sewing more manageable under the arm of the sewing machine, layout and sew the head, tack, and clew before tackling the body of the jib. Then you can more easily sew the body of the sail, by rolling up the cloth under the arm of the machine without the heavy bulk of these corners restricting movement. Later you can join them together. Just make sure you sew the head, tack, and clew to the correct corner! Sorry, I couldn't help myself. If I were to sew a new jib for Panache today it would definitely be a full hoist jib so it can roll it up correctly on the furler. A partial hoist jib risks an upper pennant wrap. See Tech Tip F10b. The extra cloth at the top ensures the jib rolls up evenly and translates to more pull with no extra heel. That would be so nice. Both Hal and Bill report their full hoist blade jib to out pull their Clark partial hoist jib. The dimensions are shown below. | |
BLADE - In Fall of 2020 Bill Sweeney decided to replace his aging jib with a North Sails blade instead of a factory dimension jib. It is quite likely this is the same design Hal Mueller bought from North Sails, Portland in 1998. Not only will this jib work better with the main, it can roll up correctly on the foil since it is a full hoist jib. See Tech Tip F10 & Tech Tip F10b.
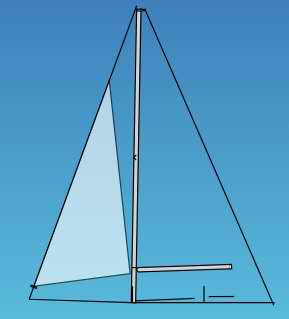
The left drawing shows the factory 110% jib on a
furler.
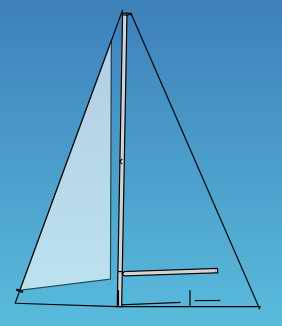
The right drawing (not to scale) shows a 110% blade that I have sailed on several boats during worsening weather, wondering how we are going to get out of this mess. On two of them the solution was to hoist the blade. Its quite remarkable how well this sail can pull to windward without a lot of heel. | |
| MAINSAIL - This is a rather complex sail to sew. The draft has to be exact to pull properly. I only have repair experience with a few mainsails, so can't comment on sewing one. (insert pattern here) | |
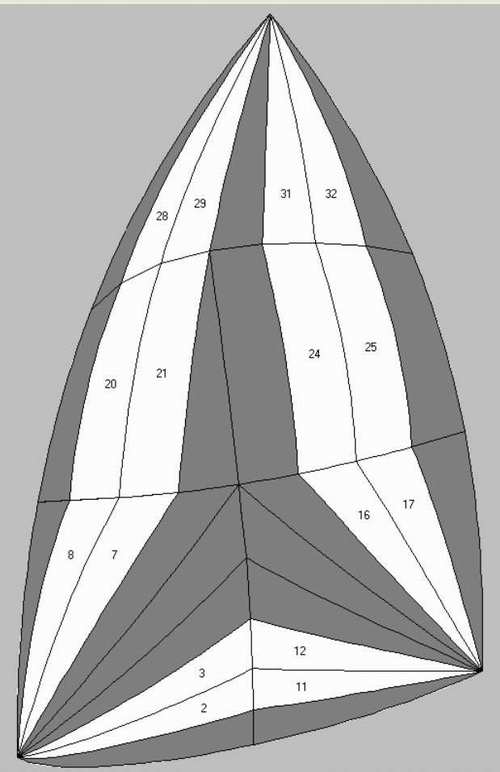
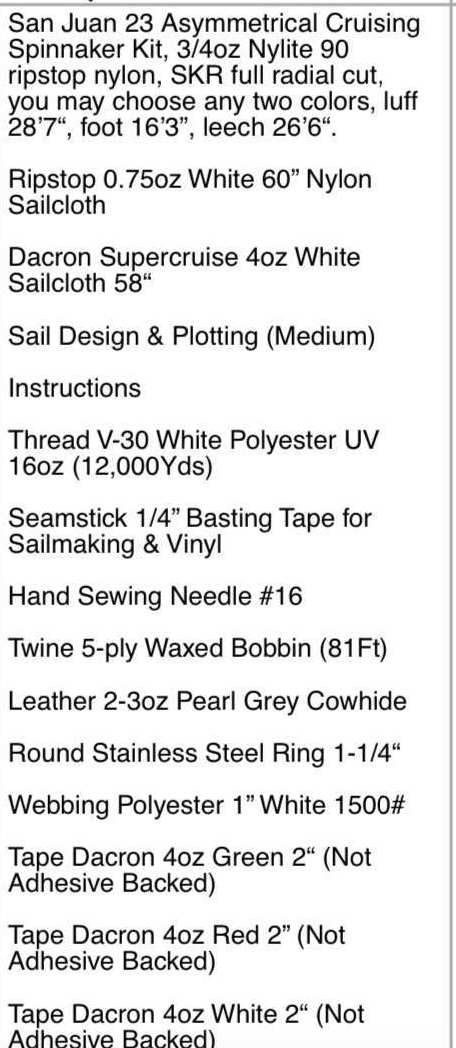
| SPINNAKER - A spinnaker is usually made of light double rip stop nylon. A regular sewing machine should be able to sew the panels together, but I have used my heavy duty sewing machine with the tension backed off to sew two layers of nylon without puckering the fabric. Although for the head, tack and clew you might have to use the heavy duty sewing machine. In many cases a spinnaker is a less demanding sail to sew. The problem comes with handling the light fabric.
| |
Return to Tech Tip Index. . . . . . . . . . . . . . . Have a Question? | |