|
SJ23 Project 07, (Issued 2021-09) Goodpain, CLKJxxxxM7xx, Sail
xxx by Greg Overton. |
|
Goodpain is a first version SJ23 that does not have the anchor locker e/w deck opening. The good thing is she has an eager new owner who has the ambition and skill to change that, amongst other features as you shall see below. I've documented the modifications here and in Tech Tip B11a & Tech Tip F34b as they are more meaningful to readers that way. Bob S. PS: In case you are wondering, Goodpain is named after an album by Greg likes; Yoke Lore. Goodpain is the name of a song on that album. |
|
REPLACE RIGGING - Go to Tech Tip F34b, Dyneema Rigging for GoodPain. |
|
TRANSVERSE STIFFENERS to REINFORCE BOW. (July 2021) When we purchased Goodpain one of the first things I did was gut all of the wiring, bow to stern. When planning the new system, I decided I needed a better location for the battery and inverter/charger. I also noticed, as many have, that the SJ23 is a bit aft-heavy in trim with 2-3 sailors. Also, since most of the storage in the boat is temptingly in the stern, weight tends to accumulate abaft the beam. I also noticed that the V-berth was a woefully difficult space to access and would be perfect for an electrical and storage compartment. I like things to be compulsively organized, which in the case of electrical systems means well laid-out and that’s easier when things are flat. After reading some of the other pages on the website I figured I would take on a bow project with a few goals in mind:
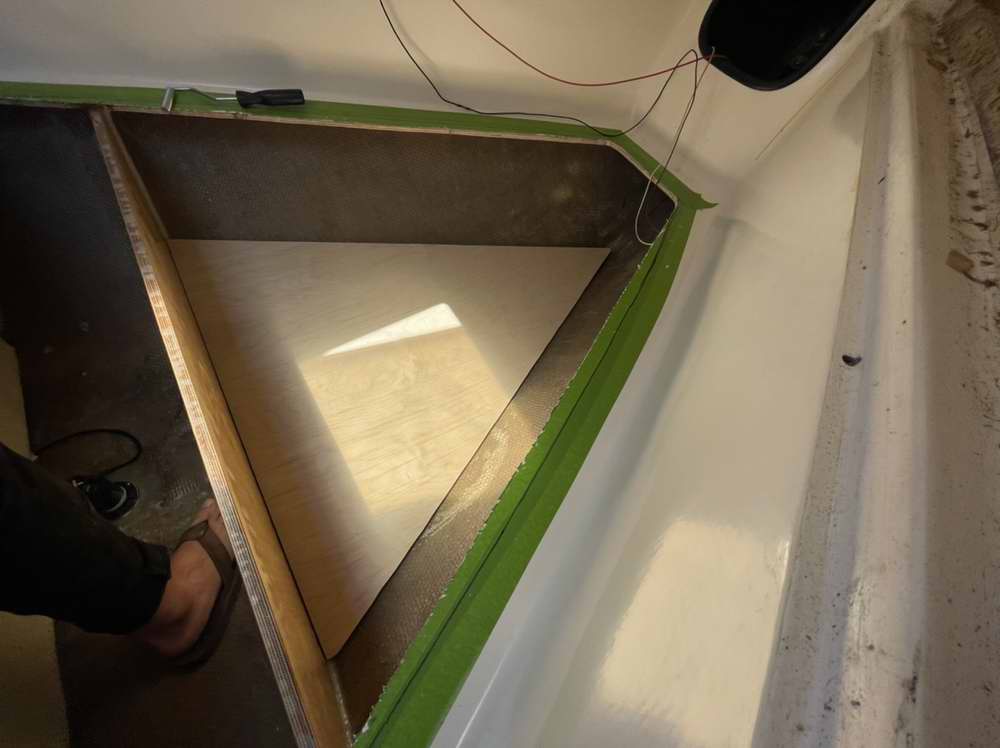
I started by cutting out the V-berth pan with a jigsaw. The pan is curved on the sides but I cut straight sides to make it easier to refinish this area after the electrical components go in.
Then I scribed and epoxied in a new transverse bulkhead that would improve the lateral stiffness of the hull as well as give me an aft end of my electrical “bath tub”. I used West 105 Resin with 107 slow hardener and colloidal silica to thicken. At long last! I scribed a new floor out of 1/2” Baltic birch plywood and it’s starting to look GREAT. Exactly what I was hoping for. You can also see the thru-hull for the depth & speed meter.
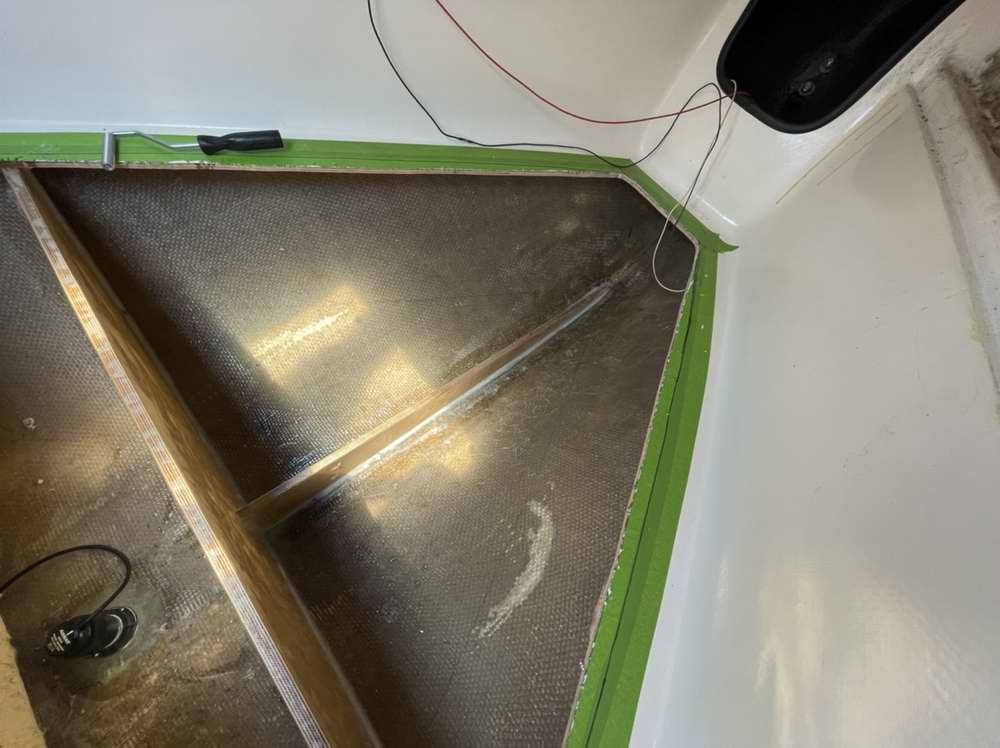
Then I cut a new stem/centerline rib that would sit under the new false floor. The reason was to stiffen the “drum head” nature of the factory-unsupported bow of the boat. I bonded and filleted it in the same way as the transverse bulkhead.
You can see some bubbles on the top of the transverse bulkhead where the glass didn’t fully sit down on the wood but that doesn’t matter. That edge will be fully covered by a hardwood trim strip as part of my V-berth renovation and it’s not structural. I’ve since sanded the top of that bulkhead anyways. The false floor was properly tabbed to the bulkhead and the rib to the hull. I used 6” wide glass mat and West resin. While I was at it I added a few more layers in the nose. I used a silicone spatula to fillet all the edges nicely. I used my new battery as weight to ensure the floor was sitting fully on the rib below it.
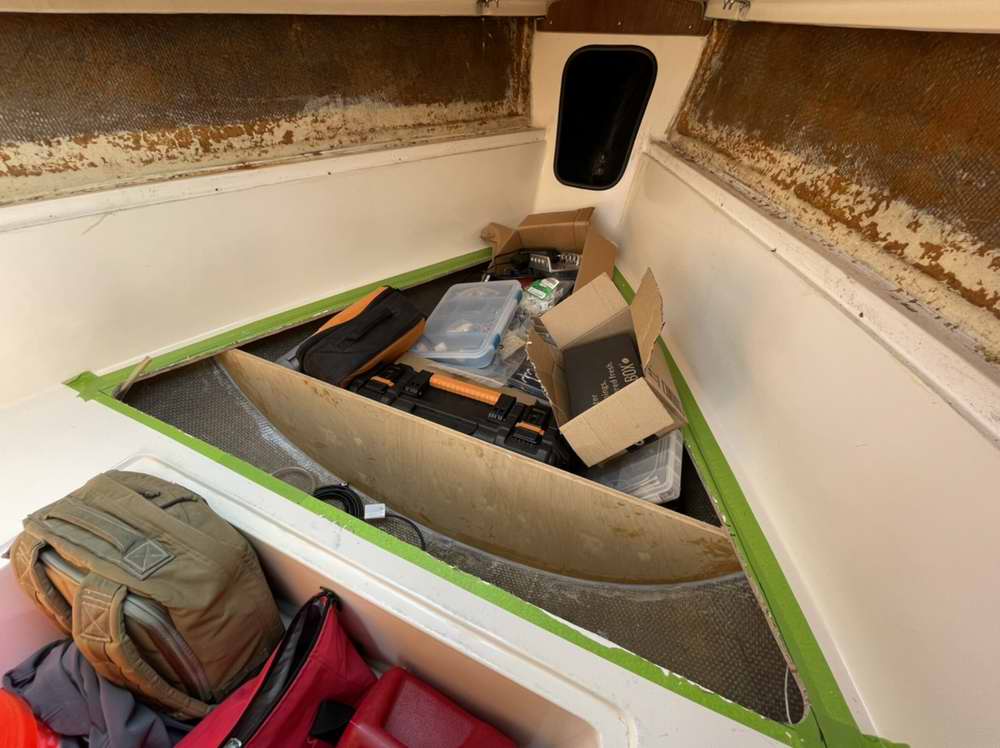
Mid-project tools kept piling up… Believe it or not I actually raced the boat with this pile in the V-berth
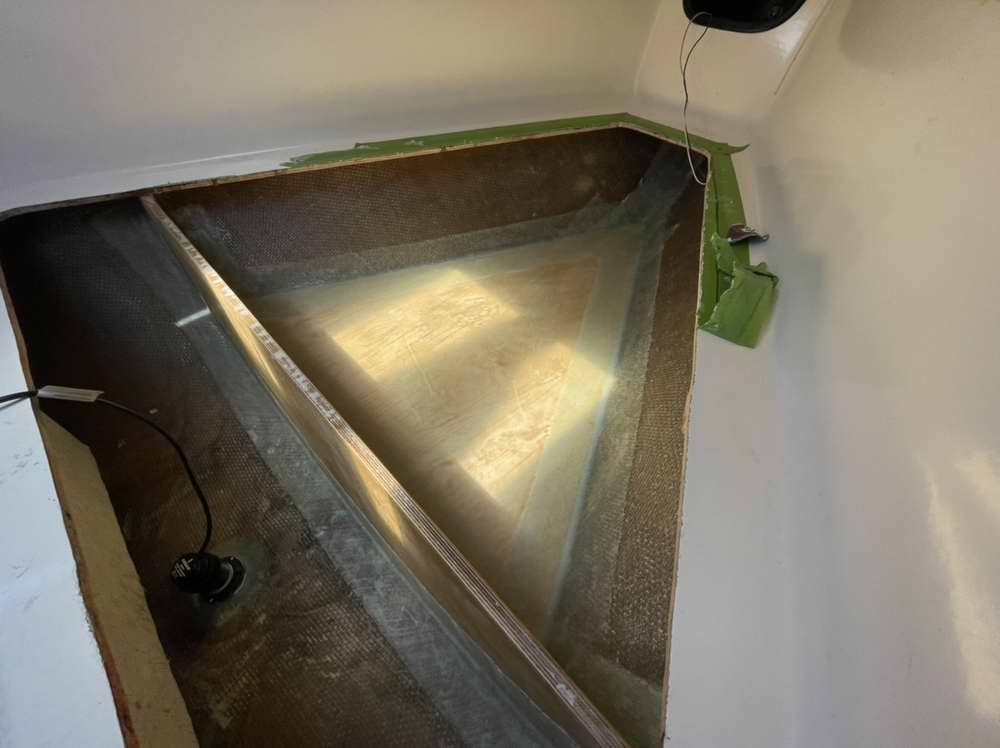
“Anything worth doing is worth overdoing”, so I painted the new compartment with three coats of Bilgekote.
On the way to Olympia, WA for the haul out prior to do this job, the sound of the waves resonated inside the boat because of the large surface area of unsupported hull in the bow. After finishing I can say that the boat is dead silent. It sounds like a sledgehammer hitting waves. Almost no noise and very stout feeling. Hard to describe, but I’m sure your can imagine. No lingering “wobbles” or vibrations after going over a big wave, it’s rock solid. I could NOT be happier with my decision to do this project. |
|
|
ENLARGE ANCHOR LOCKER - Go to Tech Tip B11a for the next step of this project. |
|
|
Return to Tech Tip Index... . . . . . . . . . . . . . Have a Question? |
|