| SJ23 Tech Tip E19, (Updated 2023-07-03) Bob Schimmel | |||||||||||||||||
|
Two
Deck Wash Pumps for Panache -
Portable & Fixed Mount. |
|||||||||||||||||
|
THE MAGIC OF RAIN OR DEW - It is incredible how well rain water can clean a deck. Not many people wander around in the rain so they don't see this but next time, go on deck after a heavy down pour to see how clean it is. That pristine deck surface demonstrates the cleaning power of rainwater. Morning dew has a similar property and again most people don't see this, usually getting out of bed after it evaporates. I'm not about to suggest you stand out in the rain with a deck brush, but if you get up a little earlier, you can brush the deck with the morning dew. Either of these should be your first go to for cleaning the deck. A past sailing buddy used to preach this philosophy to me all the time. His deck was bone dry by the time anyone even thought about waking up. He drove me nuts with this but had the cleanest boat in the club and he made good coffee in the morning! There is actually a dust particle inside each rain drop that needs to be cleaned. Didn't know that did you?
WASH PUMP USES -
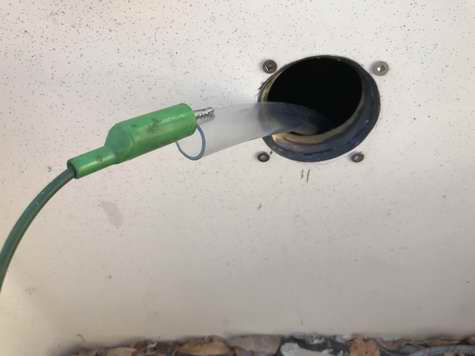
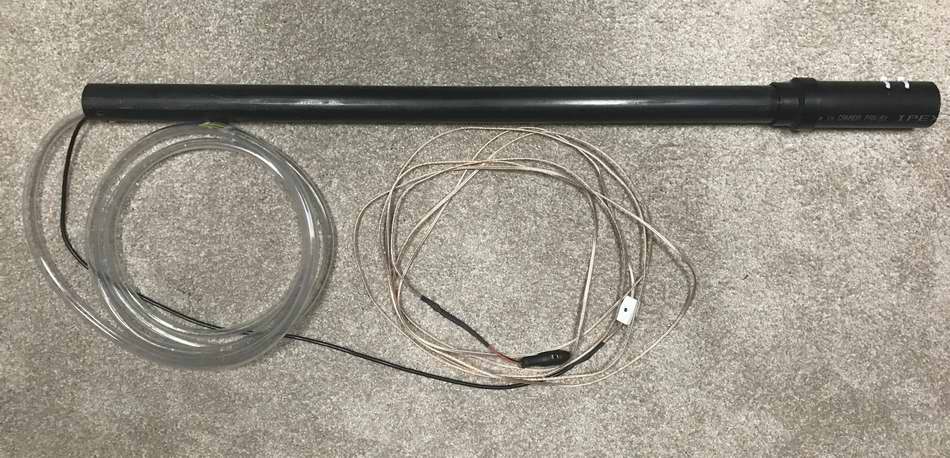
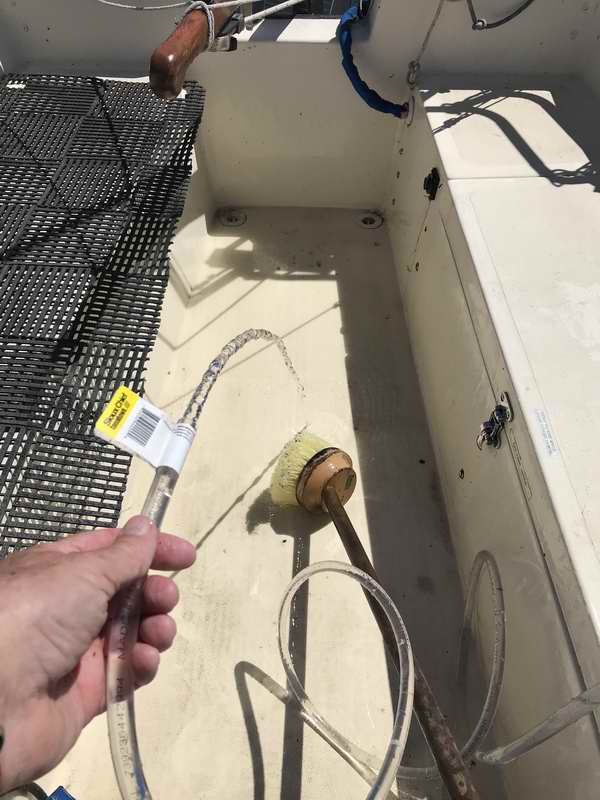
For years I used a bucket of lake water and a brush to wash Panache's cockpit and deck. A bucket is OK but frankly the swoosh doesn't wash debris away very well, especially along the cockpit toe rail where a steady stream of water can float debris away so it goes overboard. A brush without flowing water is wanting to remove grunge from a tight space. Nice to have endless water. A deck wash pump is also quick and easy to clean a spill or remove foot prints from dirty shore based shoes. PORTABLE DECK WASH PUMP - The 12V centrifugal pump is mounted at the bottom of a 4' length of ABS pipe. (In this fabrication I joined a 4' long 1.5" ABS pipe to an 8" long 2" pipe to use garage stock but a single 4' long 2" ABS pipe is probably simpler). Using ABS pipe is perfect to keep the pump submerged and to protect it when the assembly is stored in the cockpit locker. I chose a pump that is identical to those installed under the settees; serving as a spare that is known to work. (See Tech Tip E16). To use the portable pump hang it over the gunwale slung from a winch.
This pump has a lift capacity of ~10' so it has sufficient force to do reasonable work. The end of the tube might get a nozzle to create a more forceful stream of water but the biggest advantage is a steady flow of water. This pump is stored in the cockpit port locker with the wires and hose secured to the tube using a Velcro strap. Later I may house it in a nylon bag. Another thru hull installation adverted. The first time I used the pump to clean the cockpit I was surprised with how well it worked. Moving water is everything after all. In half an hour I washed all the debris from the toe rails, under the mainsheet traveller, cockpit seat lids and the cockpit sole. All winter debris that has a nasty habit of sticking around for the summer. Its a great tool for emptying a dinghy filled with rain.
|
|||||||||||||||||
|
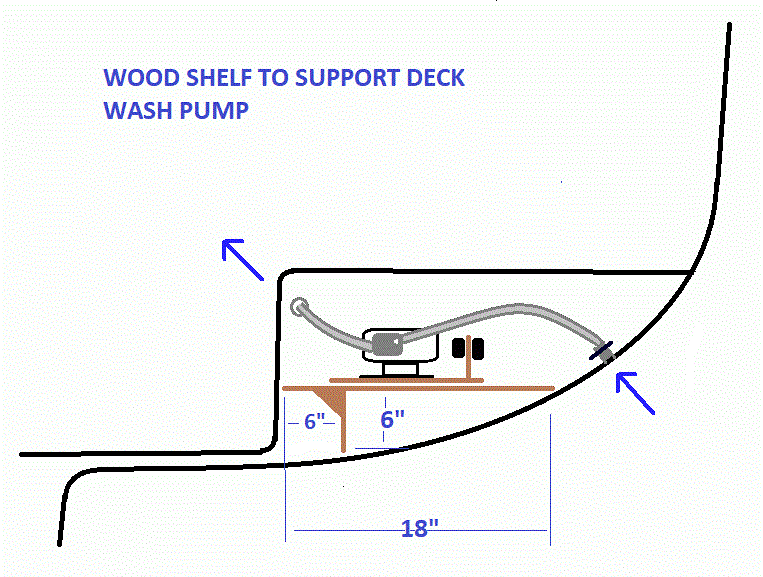
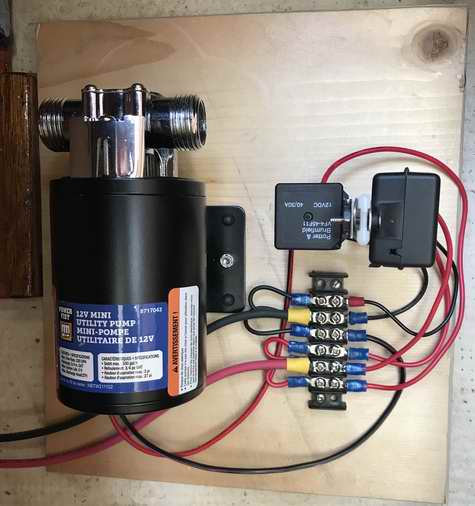
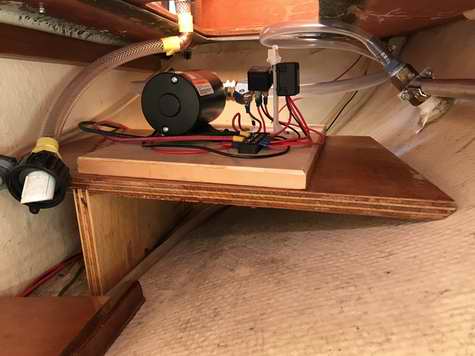
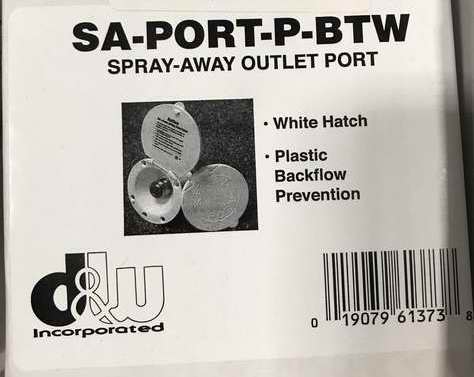
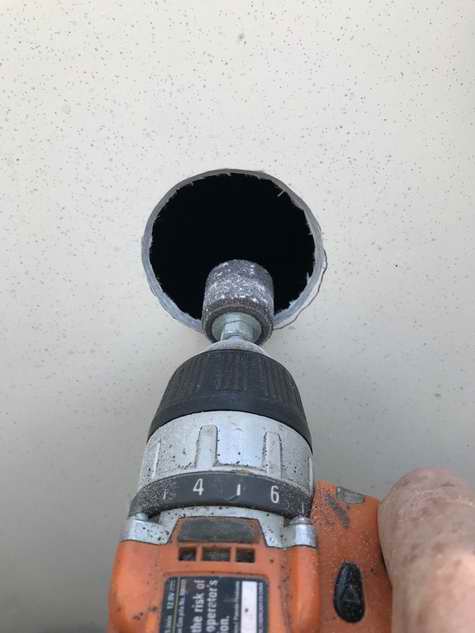
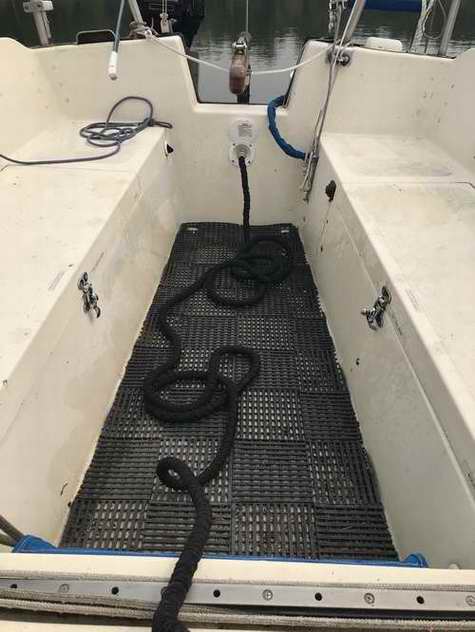
FIXED MOUNT DECK WASH PUMP - It can sometimes be difficult to keep a prairie boat clean, given the fine dust that blows off the fields in Spring and Fall. Thankfully the open pit coal mine next to our lake is now closed. While the combination of dirt and coal dust can bake quite hard on the deck, some sailors manage to keep their boat spotless. I'm not sure where they find the time, because frankly I have other things to do. One day I noticed one of those guys pointing his anchor hose to his deck. "Hmmm. A powerful deck wash pump that can push lots of water. This might be just the ticket for heavy duty cleaning of the deck." Now I wouldn't install a thru hull fitting just to have a deck wash pump because another hole through the hull is just plain dumb. But, Panache has an idle thru-hull fitting that can be repurposed with a pump connected to it. Come to think of it, this might come in real handy to fend off marauding "pirates" on the lake. MECHANICAL - It took a fair amount of R&D to design a system within the constraints of Panache's existing port thru-hull. I wanted the hardware to be out of sight plus be convenient to use and service. The port settee satisfied many aspects of this with the pump resting on a plywood shelf next to the thru-hull fitting. The epoxy coated shelf will keep the pump and electronics high and dry for most "wet" situations. However, the pump and its electrical controls are installed on a small sub-board that rests loose on the shelf so it can align to the vinyl hoses and can be extracted for maintenance.
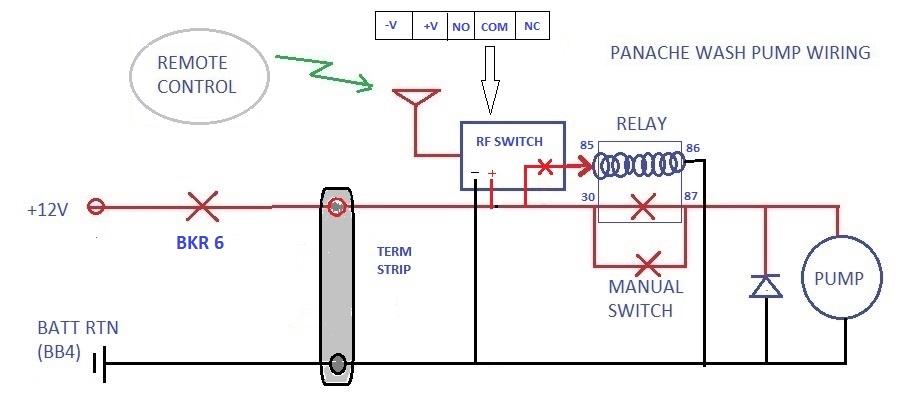
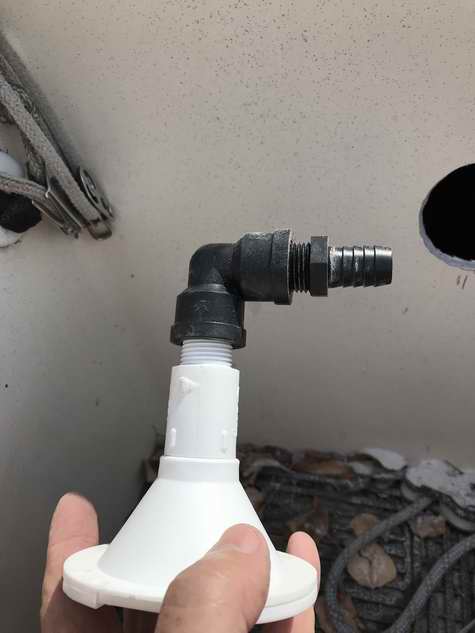
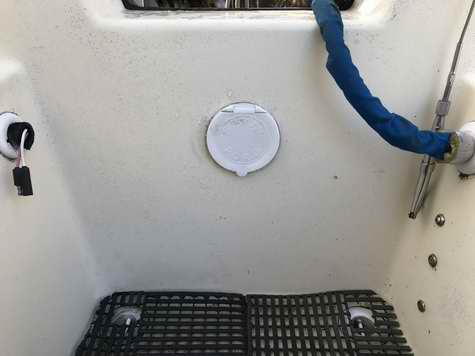
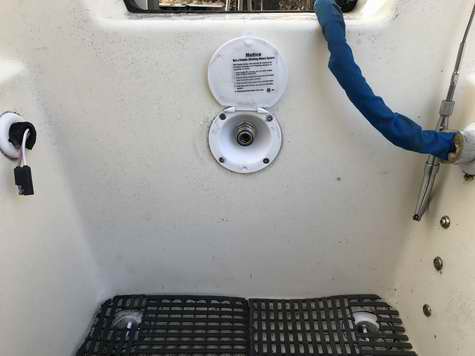
PLUMBING - Since the thru-hull is below the water line and the displacement pump is slightly lower, the pump should prime itself. (Good in theory but I had to prime the pump by loosening the impeller cover and letting it bleed till the water was at the impeller. It is not difficult to do). The water protects the rubber impeller from a damaging dry start. The thru-hull valve is closed between uses, for the obvious safety reason. The 3' long pump inlet tube goes through an easy 3600 turn to prevent a kink that restricts water flow. DO NOT use vinyl reinforced tubing as it kinks. Instead, use coil supported tubing. The pump outlet tube goes through the settee aft partial bulkhead, along the inside wall of the port cockpit locker to an RV "exterior spray port" installed through the aft cockpit wall under the tiller. There is ample space for it back there. The spray port is robust so no fear of creating a weakness. ELECTRICAL - A 12V pump that produces household pressure typically draws a lot of current. The one on Panache draws ~10A and will therefore pull power through a dedicated 15A breaker, BKR 6. The battery return wire connects to Buss Bar 4 (BB4) so the start up surge current cannot burn the shunt in the Load Meter M2. The pump also has a 2A Transient Suppression Diode across it to short out any damaging voltage spikes when it powers off. This diode must be capable of high current due to the size of the pump motor. All wiring is #10 AWG stranded and has enough slack to extract the pump out of the settee for service. The power is conveniently controlled by a Wireless Remote Controlled Relay Receiver to both conserve battery power and to minimize wear on the impeller when the nozzle is closed. A rotating rubber impeller must always be lubricated and cooled with flowing water. The Wireless Relay in turn drives a 50A relay to handle motor current. I'll hang the FOB around my neck so I don't loose it overboard. A manual power switch may be installed next to the pump for maintenance but so far has not been required. The plan is to use the pump when the sun is shining so it can recharge the battery quickly and dry the deck. In fact the short term, high charge, current may be beneficial, acting like a quick equalize charge to the battery. In truth, the power consumption has proven no worse than starting the outboard and has not dropped the battery voltage during my trial tests.
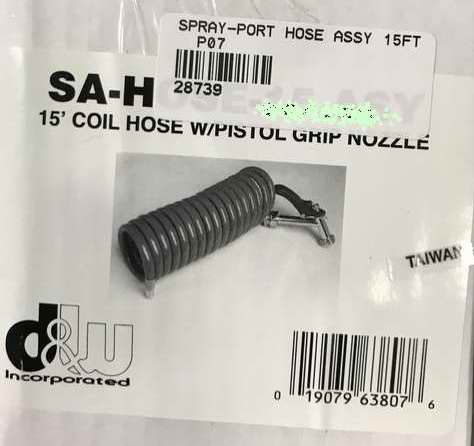
OPERATION - Open the thru-hull valve and visually verify the pump is primed and not leaking. Switch on (BKR 6). Plug the hose into the spray port. Point & open the nozzle. Switch the pump on via the Wireless Remote Controlled Relay Receiver (configured for latching operation). Wash the deck. When finished washing, switch the pump off, drain the hose and pack it away, switch off BKR 6 and close the thru-hull valve. I run the motor only to spray. WINTER STORAGE - All hoses and the pump must be bone dry to survive a winter freeze. With the boat on the trailer I crack open the hose fittings at the pump, open the thru hull valve, plug the hose in the transom fitting, open the nozzle and let it all drain into the settee bilge. There is actually very little water, and is easy to wipe up with a sponge. With the pump installed below Panache's galley at the aft end of the settee, it is a tad difficult to access the pump through the aft access hole. For this reason I empty the galley to service the pump and hoses. This is an inconvenience I can handle.
|
|||||||||||||||||
|
Return to Tech Tip Index. . . . . . . . . . . . . . . Have a Question? |
|||||||||||||||||
 -
A centrifugal pump can move more water in the forward direction than in the reverse direction. The DC motor can turn in either direction and the positive lead is usually labelled. If the power is applied to the motor so the pump operates in the forward direction you will see the stream going furthest out the nozzle. This is the correct polarity to operate the pump, regardless of the lead labelling. I found one pump to be labelled backwards!